Here's a quick list-format rundown of things we've been working on, house-wise:

Repainting the inside of the enclosed front porch, so it can be a functional playroom and office. The playroom half is done in blue and clouds, a lighter version of the murals in the kids' room, With a bit of functional chalkboard paint, and the office is white, with the columns (erroneously, as it turned out) sketched in dry-brush style in blueprint cyan.
Gardening - in front, in back, the side yards. I had the most spectacular poppy bed, and then we had a storm.

This photo is from last spring's first tiny starts. Nearly all have survived the intervening year and my dianthus to either side of the porch steps are now enormous, over a foot tall. I've expanded those beds as far as the corners of the porch and added beds to either side of the steps down to the street.


Reorganizing and updating the kids' storage in their room. This was a big project and involved finding things that worked with much of what we already had, and which will transition well from little-boy to big-boy. Tougher than you'd think.
Going through boxed up outgrown toys and baby things for hand me downs to pass on. I got rid of about five boxes of stuff that way. No pictures. That was pure chaos!
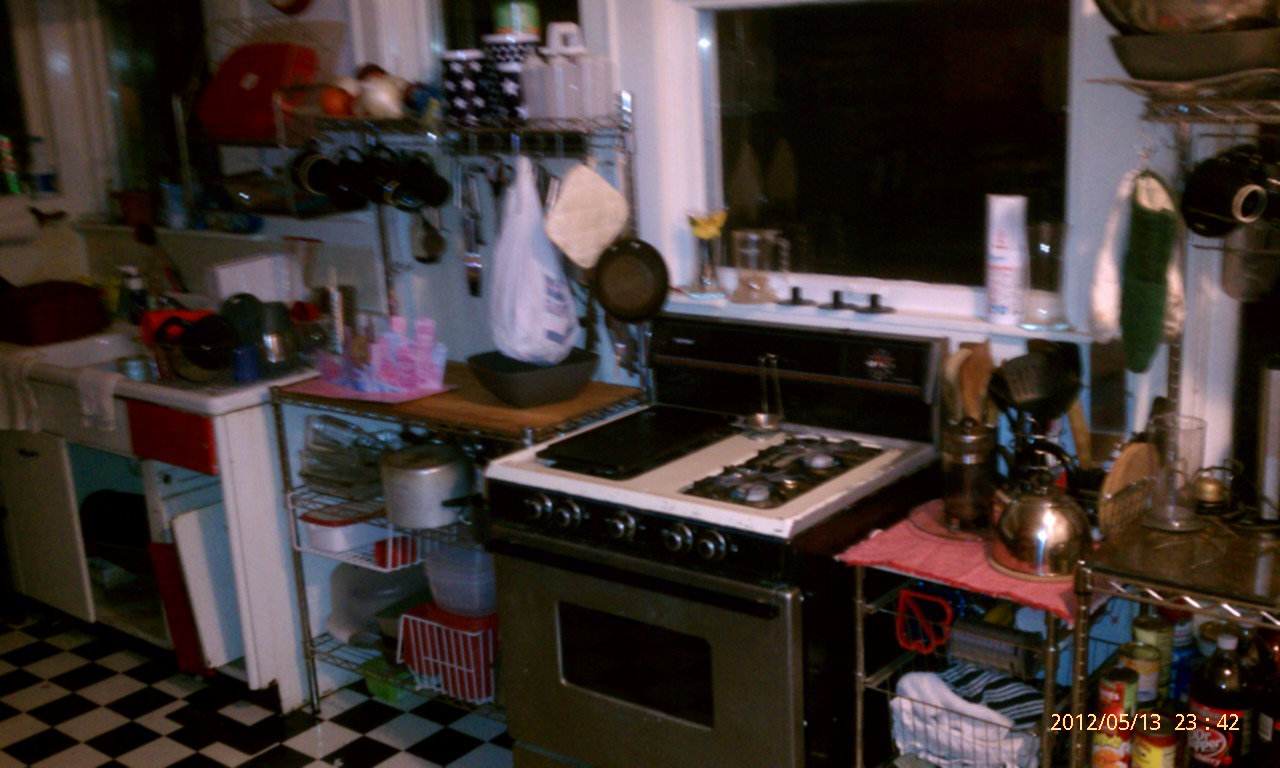
Turning half of the unfinished dining room into a temporary kitchenette, with various freestanding storage things, in order to make it possible to work on the kitchen. Also, no pictures. We've already taken out six 1940's steel cabinets in the kitchen, it's a madhouse. All of those will go to the laundry room.
Preparing for the kitchen renovation has been really absorbing. Most recently, we've been getting the cabinets measured for, and ordered. We've driven all over hoping for a wonderful deal on period-appropriate tile, like we got on the bathroom, but will most likely end up using reasonably close stuff from a big box store.We already have the new sink, and the new fridge and stove, but the sink isn't installed yet, plumbing and gas needs moving about. This, also, will get its own post. There are drawings. And a bushel of photos.
Now, those old cabinets, the ones going into the laundry room? The laundry room doesn't exist yet. This has been stressful, but it's a part of the Big Plumbing Adventure that needed to wait for spring and the end of freezes to take care of. That's coming up in a couple of weeks, and will mean a few days without water.
Finally, I spent a big chunk of winter being (curably, but miserably) ill and stewing over delayed renovations by sleuthing other houses. Thanks to an online house-aficionado acquaintance, I managed to locate another Sherman/Sheridan. Sadly, it's probably been torn down, as it was a tax default sale. That, too, is another story for another day.
 Differences: